Pre-Word and Disclaimer
This guide may not be published, broadcast, rewritten or redistributed in whole or part with out the express written permission of Slavik at XenForo.com. The author takes no responsbility for any steps, in part, or in whole, undertaken by users of this guide and does not guarantee against any losses, material or otherwise.
Introduction
This guide is going to explain how to set up a CentOS based server stack with the following configuration:
CentOS - Is a Linux distro based off Red Hat, an enterprise level OS, based on security and reliability.
OpenLiteSpeed - Is a new project based on the very powerful LiteSpeed web server. OpenLiteSpeed offers performance similar to Nginx, with a much more user-friendly interface and management.
Percona - Is a high performance MySQL server with many advanced features focused on InnoDB performance (of which XenForo relies heavily).
In Part 1 of this guide, we will perform the basic install and get things running. Part 2 (coming soon) will configure MySQL, LiteSpeed, PHP and basic security. Part 3 (coming soon) will install XenForo and PhpMyAdmin.
Tools Required
To make use of these guides you will need the following:
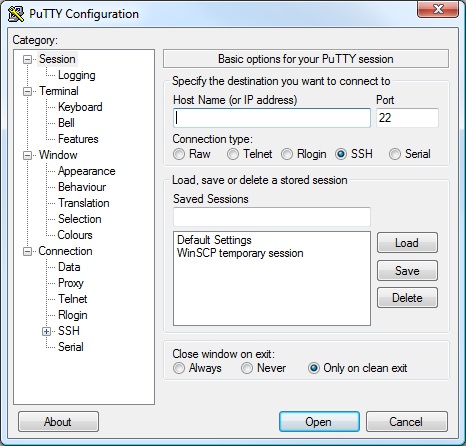
Open up the Putty client. In the hostname or IP address box, enter the IP of your server. Unless specified otherwise by your web host, you will not need to change any other settings. Click open.
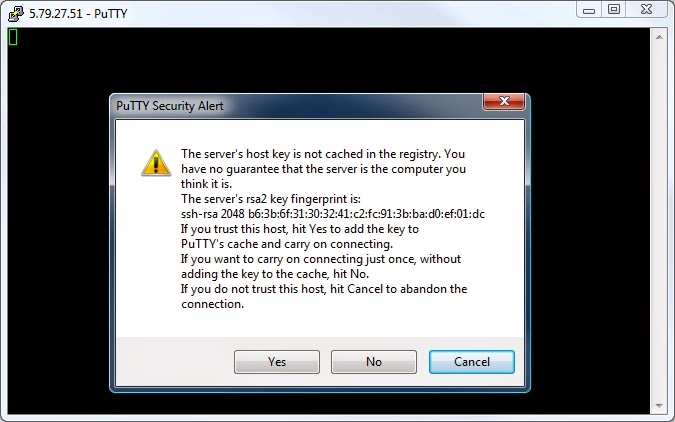
You will be prompted to download the server host key. Click yes.
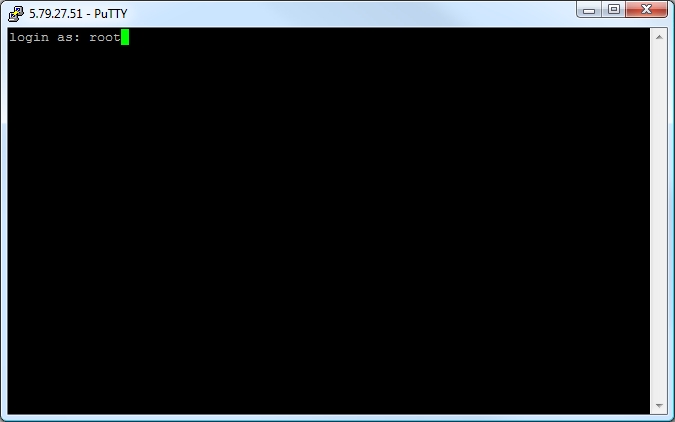
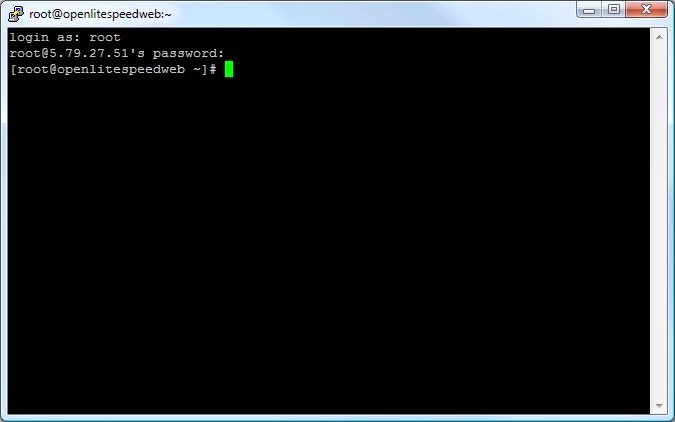
Login using the username
and press enter.
Enter the password you chose on setting up the server, or the one pre-supplied by your host. Please note, the characters for the password will not be displayed as you type.
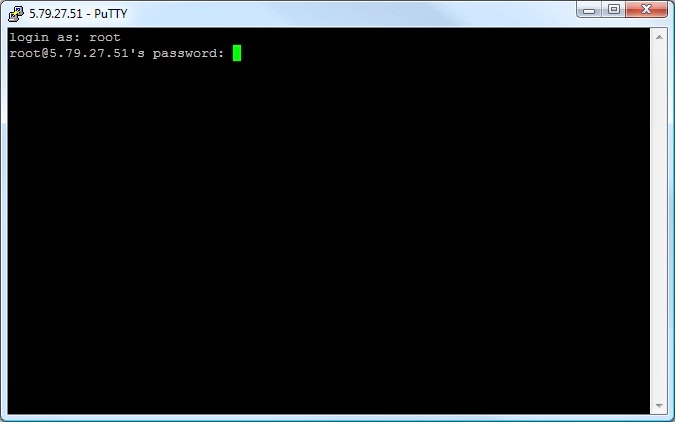
Congratulations, you should now be logged into your server!
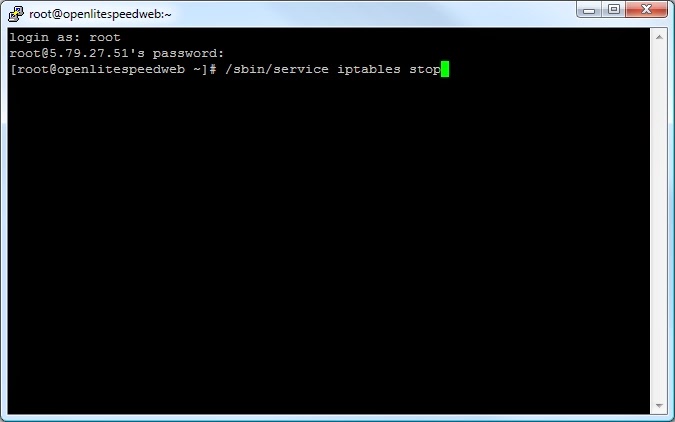
Strangely, depending on your web host's individual setup, you may have some IP Tables rules, which, may either do nothing at all, or, more annoyingly, block all connections (aside from SSH) by default. In order to make sure they won't cause any issues during this guide, we will disable them (don't worry, later on we will add our own rulesets!).
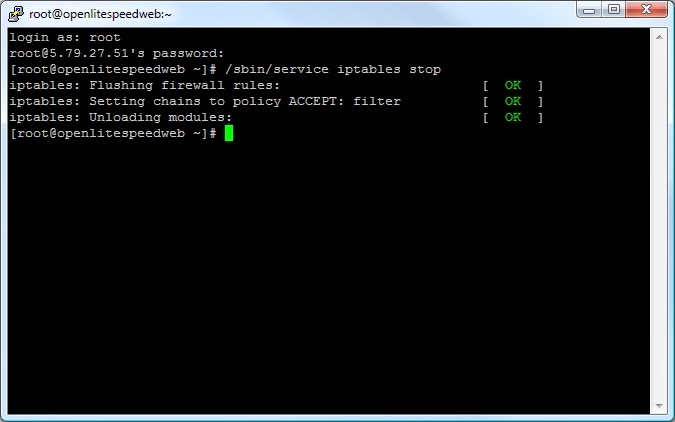
To do this type the following
Which will provide the following output
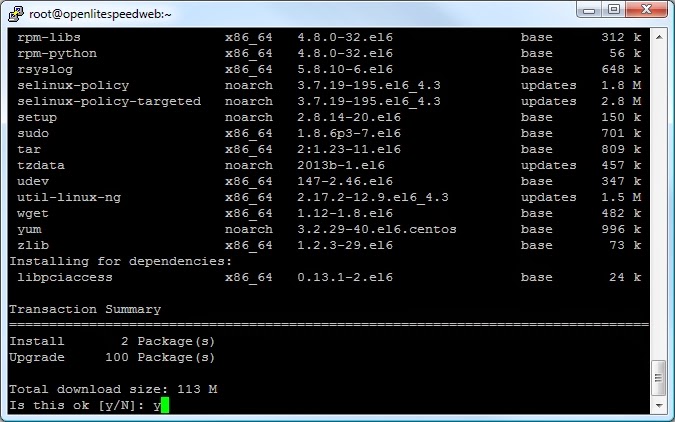
Now, we run an update using the CentOS "yum" command to ensure everything is up-to-date.
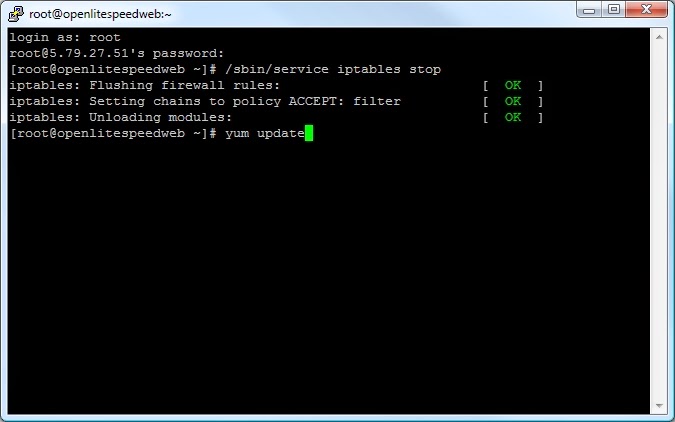
yum will now check what packages installed on your system need updating and provide a list. It will ask for confirmation to continue and update the system.
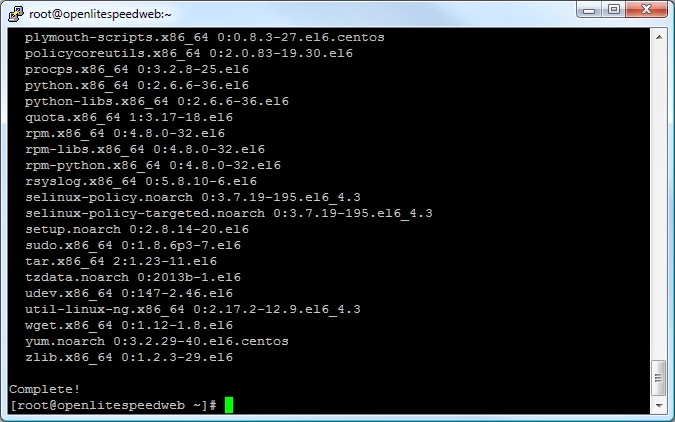
yum will now download and install all the updates to your system. This may take several minutes, however, eventually you will get confirmation it has been successful.
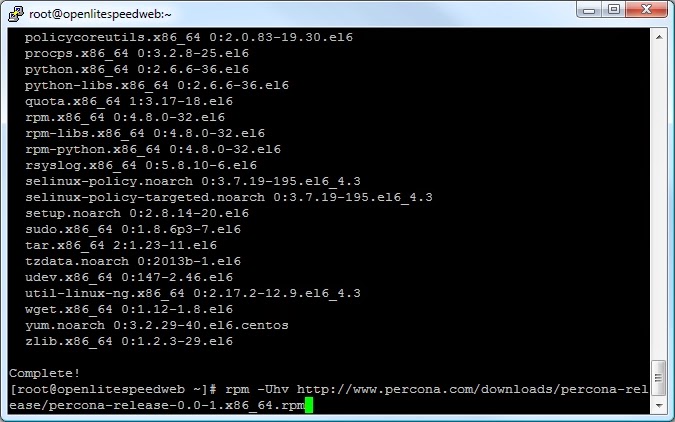
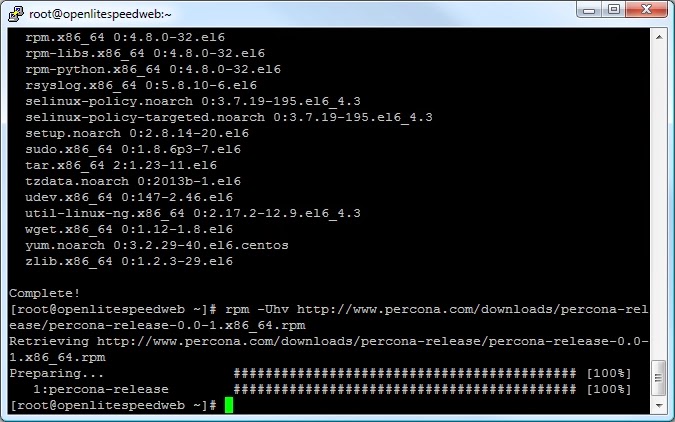
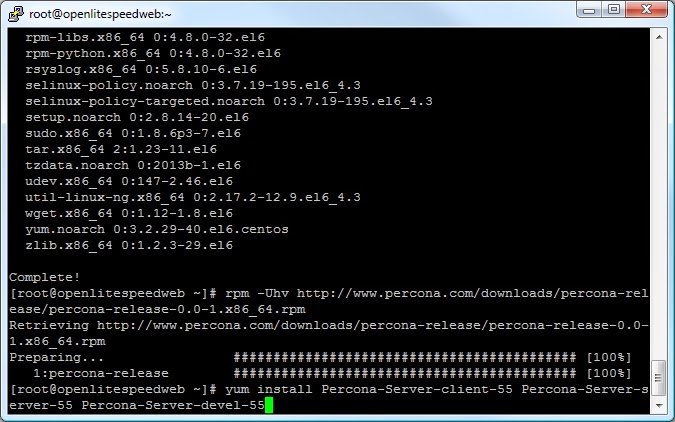
Next we will install Percona as our MySQL server. Using the RPM command we will add the Percona yum repository to the system.
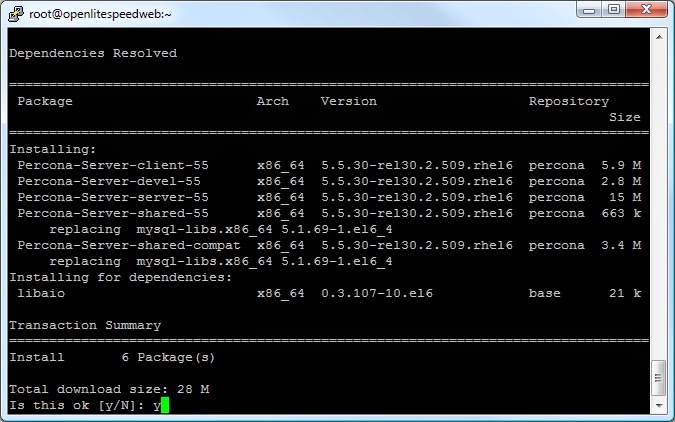
Now the repository is installed, we can install Percona itself.
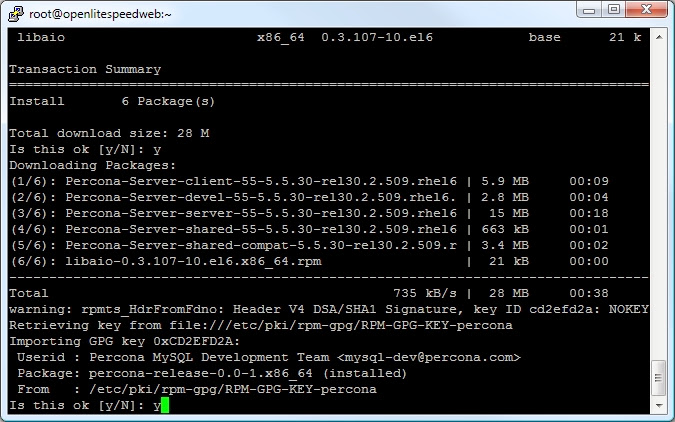
Again, yum will ask to confirm the install
yum will also ask you to import the GPG-Key
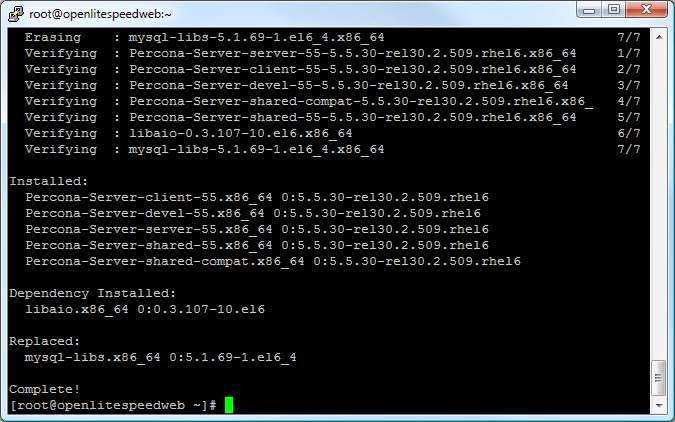
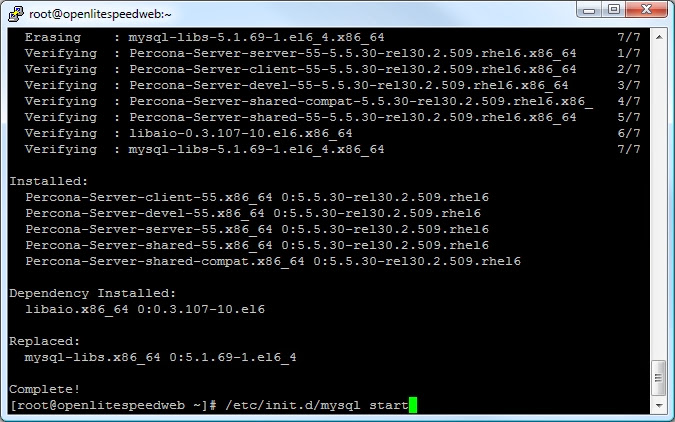
And should then install
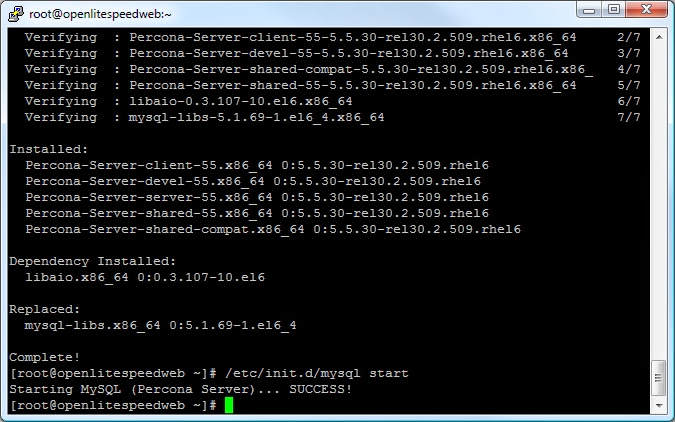
Now start MySQL.
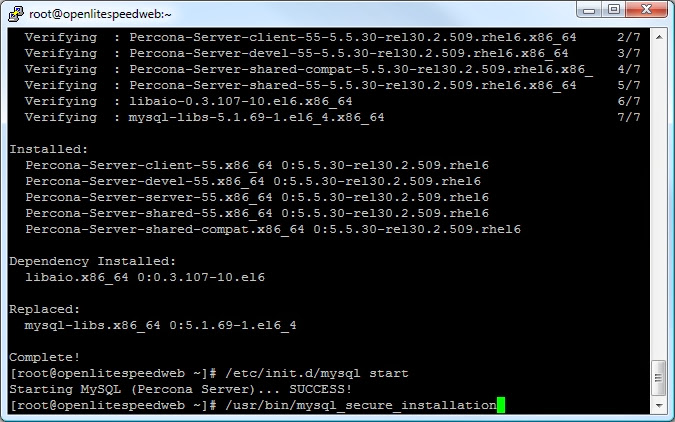
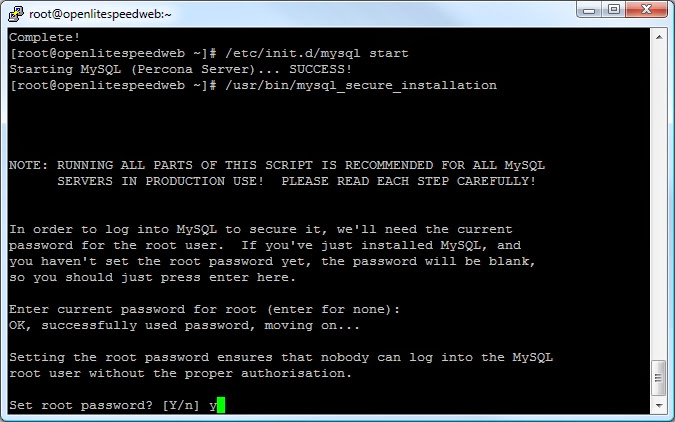
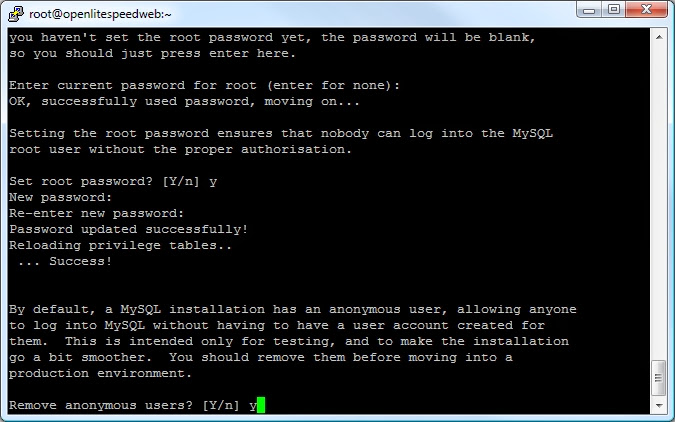
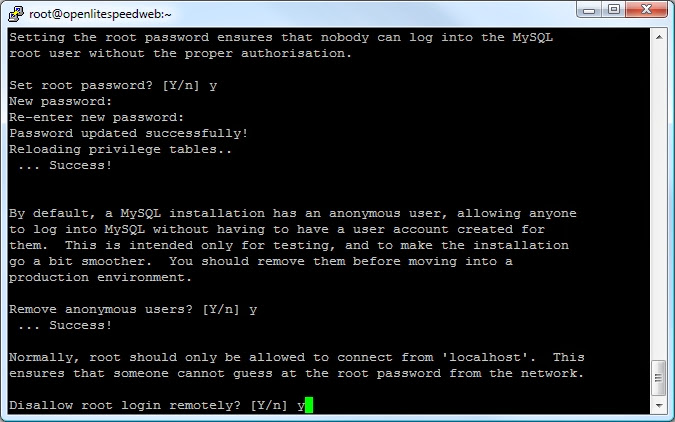
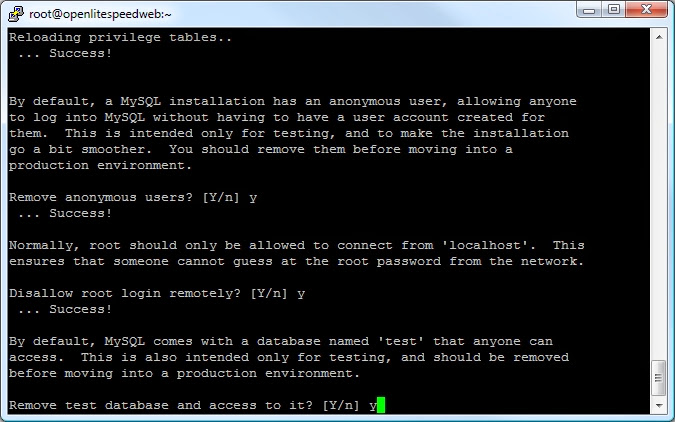
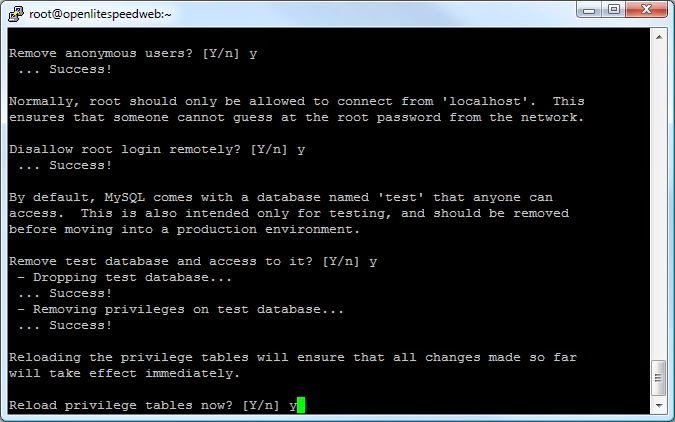
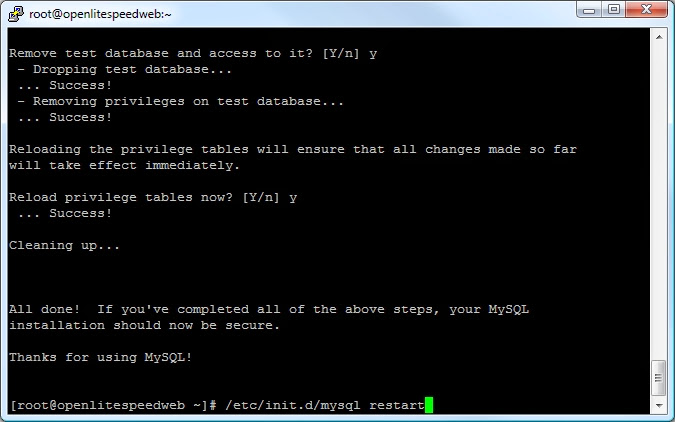
Secure your MySQL install by running
Press "Enter" when asked for the MySQL root password and follow the on-screen prompts. Make sure your root MySQL password is a nice and strong one.

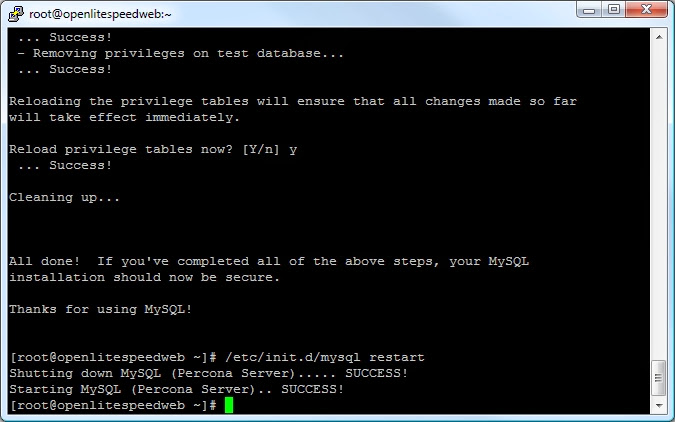
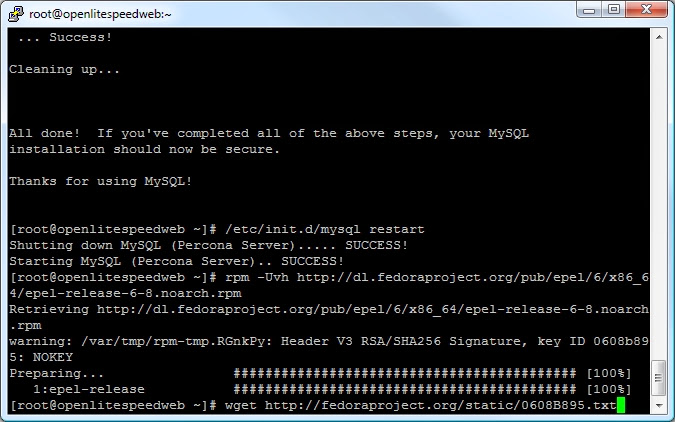
Now restart MySQL.
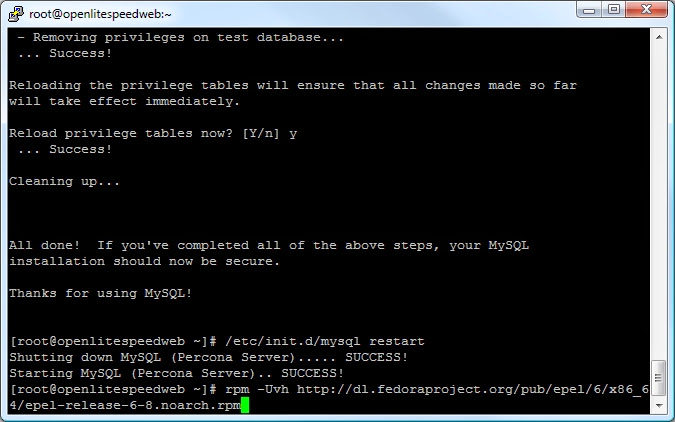
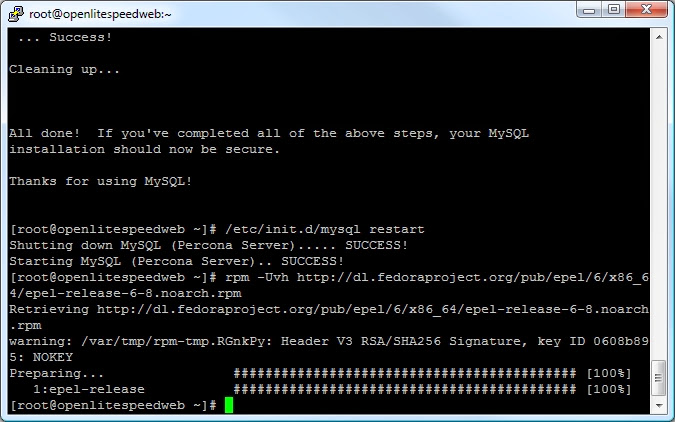
Now it's time to load OpenLiteSpeed, however, before doing that we need to ensure the right packages are installed. First, we will add the EPEL repo.
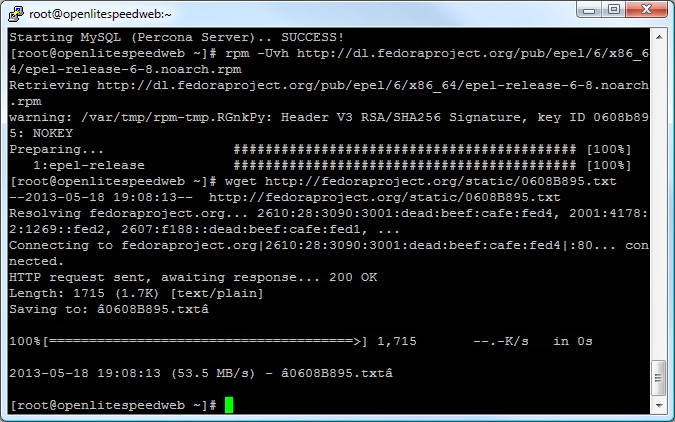
Differently to the Percona repo, we must manually retreive the GPG key.
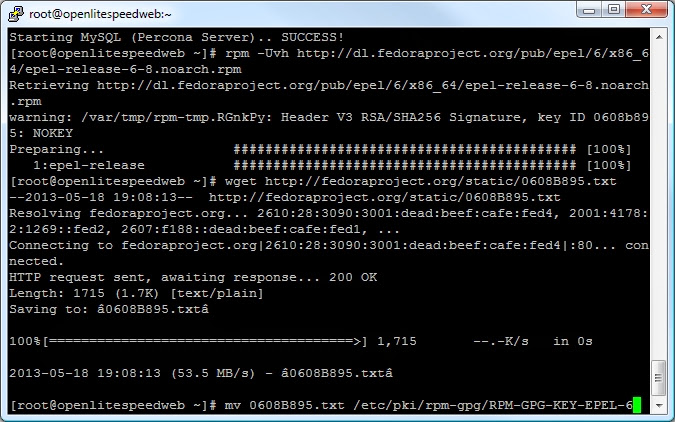
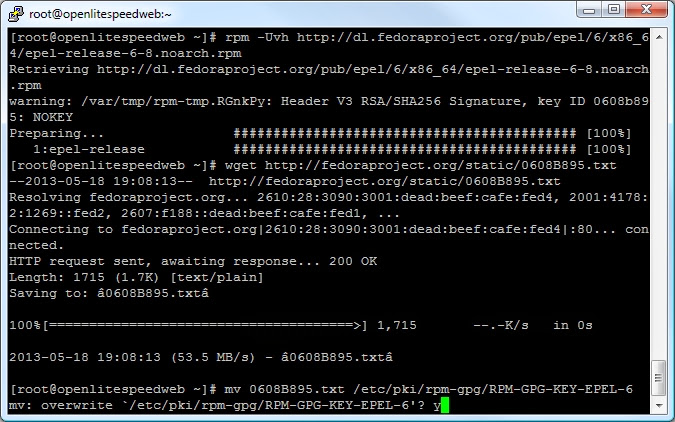
And move it to the right spot.
When asked to confirm press
And finally install it
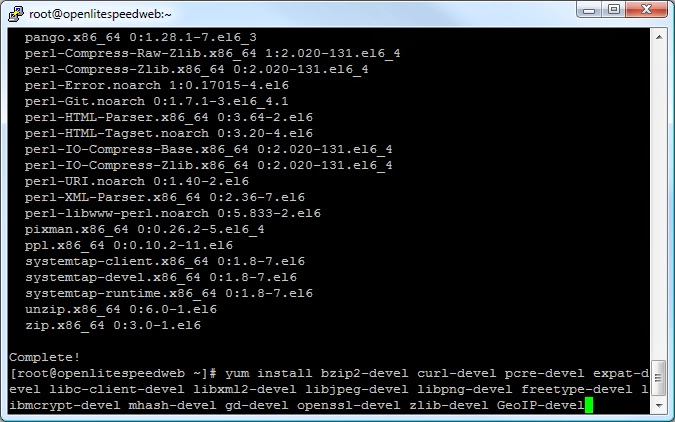
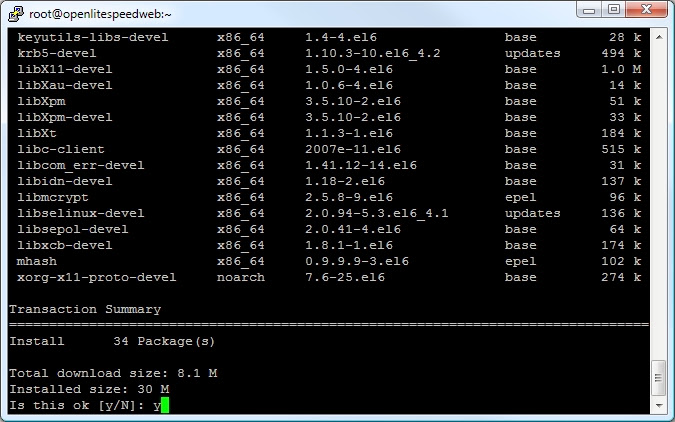
Next, install the tools and RPM's we need to install OpenLiteSpeed. As per the previous steps, when asked by yum to confirm installs, just press "y"
Now install the required packages.
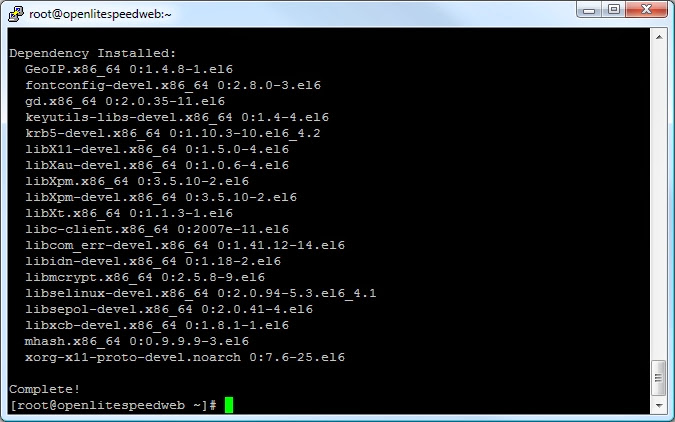
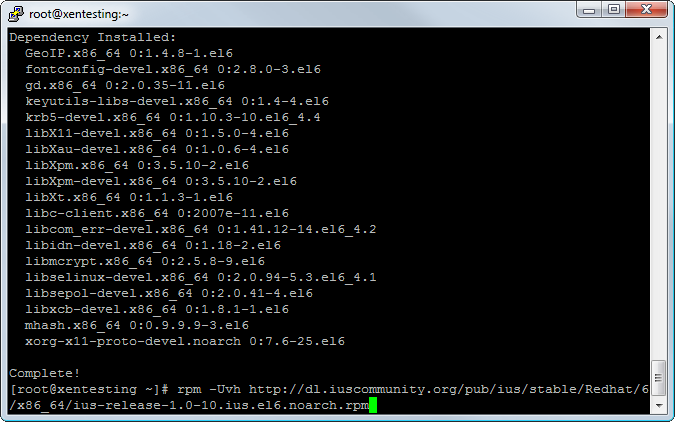
In order to enable SPDY in OpenLiteSpeed we require OpenSSL 1.0.1 or higher, unfortunately this doesn't come with any base yum repos, so lets install the IUS repo to do that.
Next install the Yum-Replace tool.
Now replace and upgrade the OpenSSL version. A warning will be shown, this is normal, press Y to confirm, and the Y to install.
Now install the OpenLiteSpeed repo.
Install OpenLiteSpeed
Once done, start OpenLiteSpeed with the command
Finally, a little bit of cleanup.
Congratulations! LiteSpeed Web Server is now running and you have finished part one of this guide. You may now move on to part 2!
TLDR Version
For those who don't need the visual references and are comfortable with CentOS CLI, here are the commands run with no pictures.
This guide may not be published, broadcast, rewritten or redistributed in whole or part with out the express written permission of Slavik at XenForo.com. The author takes no responsbility for any steps, in part, or in whole, undertaken by users of this guide and does not guarantee against any losses, material or otherwise.
Introduction
This guide is going to explain how to set up a CentOS based server stack with the following configuration:
- CentOS 6.x
- OpenLiteSpeed
- Percona MySQL
CentOS - Is a Linux distro based off Red Hat, an enterprise level OS, based on security and reliability.
OpenLiteSpeed - Is a new project based on the very powerful LiteSpeed web server. OpenLiteSpeed offers performance similar to Nginx, with a much more user-friendly interface and management.
Percona - Is a high performance MySQL server with many advanced features focused on InnoDB performance (of which XenForo relies heavily).
In Part 1 of this guide, we will perform the basic install and get things running. Part 2 (coming soon) will configure MySQL, LiteSpeed, PHP and basic security. Part 3 (coming soon) will install XenForo and PhpMyAdmin.
Tools Required
To make use of these guides you will need the following:
- Putty - A very popular SSH client. http://www.chiark.greenend.org.uk/~sgtatham/putty/download.html
- WinSCP - A SFTP client to allow easy viewing of Linux files and folders. http://winscp.net/eng/download.php
- Your server or VPS is running with the CentOS 6.x minimal install.
- Root Login Details.
- Your domain DNS A-records (usually @ and www) are updated to point to your server or VPS IP.
Open up the Putty client. In the hostname or IP address box, enter the IP of your server. Unless specified otherwise by your web host, you will not need to change any other settings. Click open.
You will be prompted to download the server host key. Click yes.
Login using the username
Code:
rootEnter the password you chose on setting up the server, or the one pre-supplied by your host. Please note, the characters for the password will not be displayed as you type.
Congratulations, you should now be logged into your server!
Strangely, depending on your web host's individual setup, you may have some IP Tables rules, which, may either do nothing at all, or, more annoyingly, block all connections (aside from SSH) by default. In order to make sure they won't cause any issues during this guide, we will disable them (don't worry, later on we will add our own rulesets!).
To do this type the following
Code:
/sbin/service iptables stopWhich will provide the following output
Now, we run an update using the CentOS "yum" command to ensure everything is up-to-date.
Code:
yum updateyum will now check what packages installed on your system need updating and provide a list. It will ask for confirmation to continue and update the system.
Code:
yyum will now download and install all the updates to your system. This may take several minutes, however, eventually you will get confirmation it has been successful.
Next we will install Percona as our MySQL server. Using the RPM command we will add the Percona yum repository to the system.
Code:
rpm -Uhv http://www.percona.com/downloads/percona-release/percona-release-0.0-1.x86_64.rpmNow the repository is installed, we can install Percona itself.
Code:
yum install Percona-Server-client-55 Percona-Server-server-55 Percona-Server-devel-55Again, yum will ask to confirm the install
Code:
yyum will also ask you to import the GPG-Key
Code:
yAnd should then install
Now start MySQL.
Code:
/etc/init.d/mysql startSecure your MySQL install by running
Code:
/usr/bin/mysql_secure_installationPress "Enter" when asked for the MySQL root password and follow the on-screen prompts. Make sure your root MySQL password is a nice and strong one.
Now restart MySQL.
Code:
/etc/init.d/mysql restartNow it's time to load OpenLiteSpeed, however, before doing that we need to ensure the right packages are installed. First, we will add the EPEL repo.
Code:
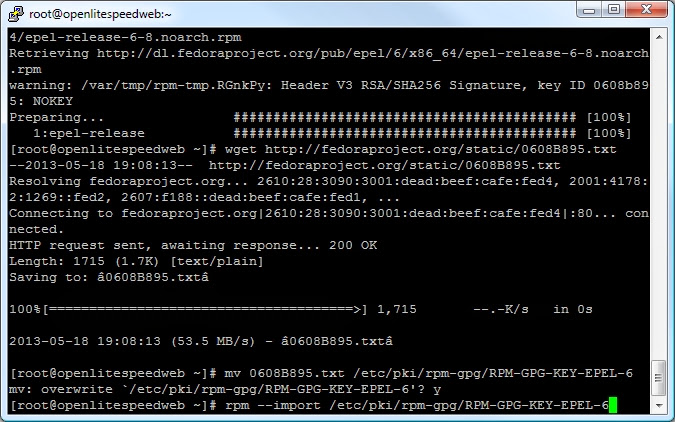
rpm -Uvh http://dl.fedoraproject.org/pub/epel/6/x86_64/epel-release-6-8.noarch.rpmDifferently to the Percona repo, we must manually retreive the GPG key.
Code:
wget http://fedoraproject.org/static/0608B895.txtAnd move it to the right spot.
Code:
mv 0608B895.txt /etc/pki/rpm-gpg/RPM-GPG-KEY-EPEL-6When asked to confirm press
Code:
yAnd finally install it
Code:
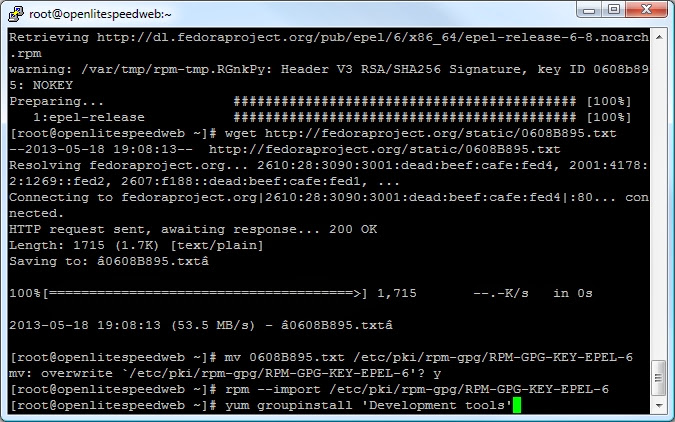
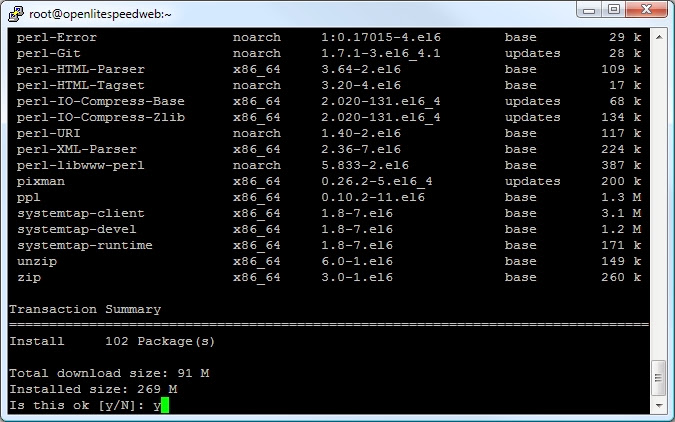
rpm --import /etc/pki/rpm-gpg/RPM-GPG-KEY-EPEL-6Next, install the tools and RPM's we need to install OpenLiteSpeed. As per the previous steps, when asked by yum to confirm installs, just press "y"
Code:
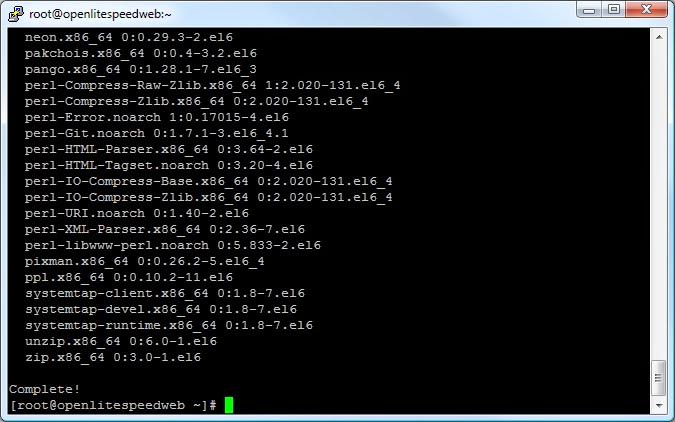
yum groupinstall 'Development tools'Now install the required packages.
Code:
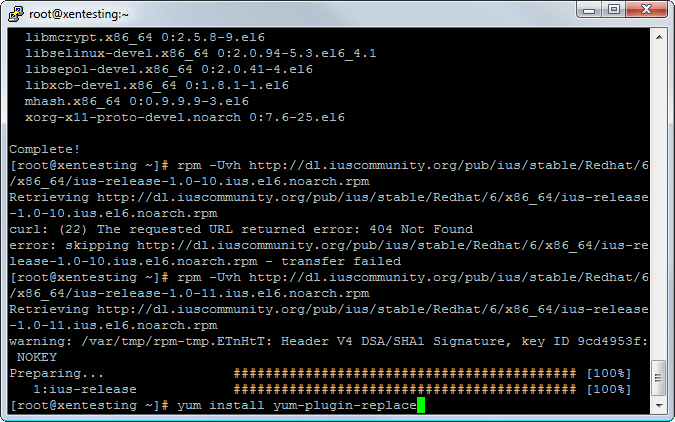
yum install bzip2-devel curl-devel pcre-devel expat-devel libc-client-devel libxml2-devel libjpeg-devel libpng-devel freetype-devel libmcrypt-devel mhash-devel gd-devel openssl-devel zlib-devel GeoIP-develIn order to enable SPDY in OpenLiteSpeed we require OpenSSL 1.0.1 or higher, unfortunately this doesn't come with any base yum repos, so lets install the IUS repo to do that.
Code:
rpm -Uvh http://dl.iuscommunity.org/pub/ius/stable/Redhat/6/x86_64/ius-release-1.0-11.ius.el6.noarch.rpmNext install the Yum-Replace tool.
Code:
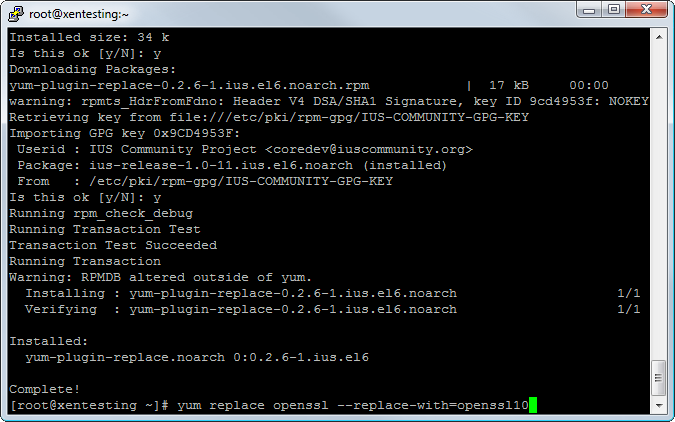
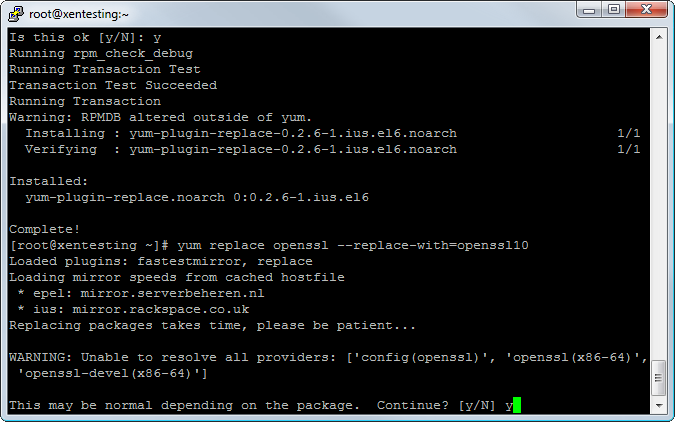
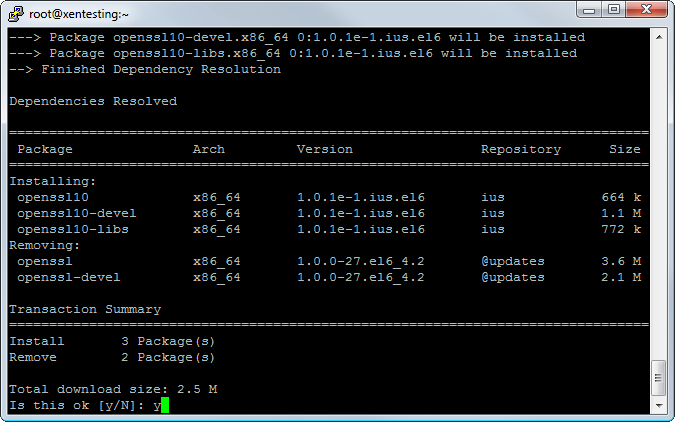
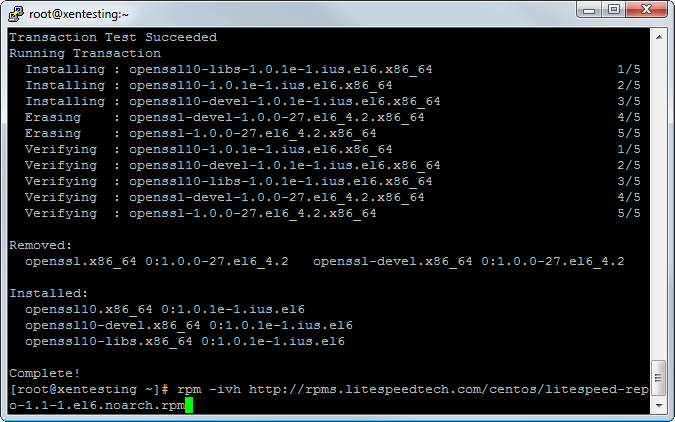
yum install yum-plugin-replaceNow replace and upgrade the OpenSSL version. A warning will be shown, this is normal, press Y to confirm, and the Y to install.
Code:
yum replace openssl --replace-with-openssl10Now install the OpenLiteSpeed repo.
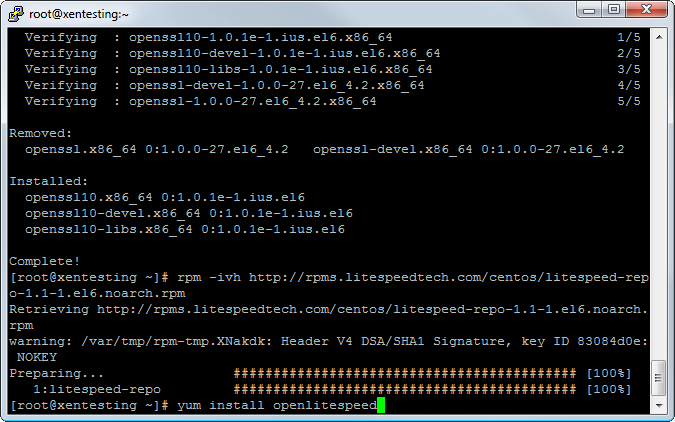
Code:
rpm -ivh http://rpms.litespeedtech.com/centos/litespeed-repo-1.1-1.el6.noarch.rpmInstall OpenLiteSpeed
Code:
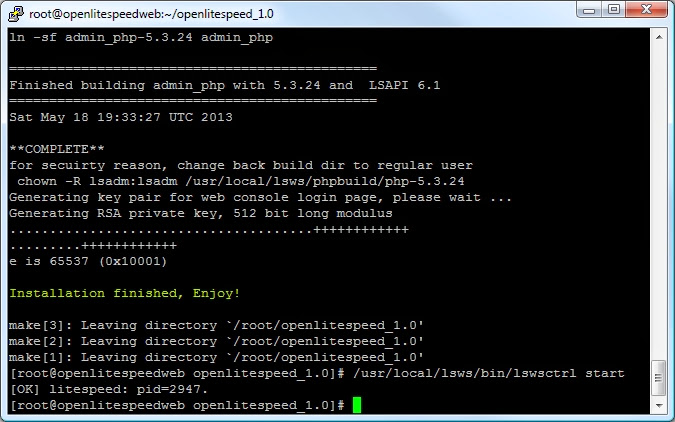
yum install openlitespeedOnce done, start OpenLiteSpeed with the command
Code:
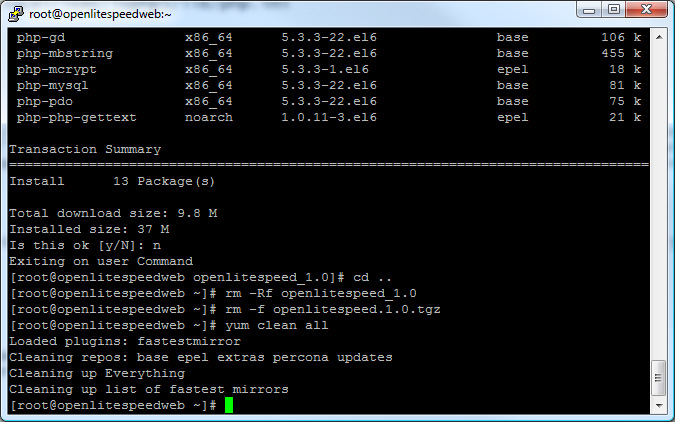
/usr/local/lsws/bin/lswsctrl startFinally, a little bit of cleanup.
Code:
yum clean allCongratulations! LiteSpeed Web Server is now running and you have finished part one of this guide. You may now move on to part 2!
TLDR Version
For those who don't need the visual references and are comfortable with CentOS CLI, here are the commands run with no pictures.
Code:
/sbin/service iptables stop
yum update
rpm -Uhv http://www.percona.com/downloads/percona-release/percona-release-0.0-1.x86_64.rpm
yum install Percona-Server-client-55 Percona-Server-server-55 Percona-Server-devel-55
/etc/init.d/mysql start
/usr/bin/mysql_secure_installation
/etc/init.d/mysql restart
rpm -Uvh http://dl.fedoraproject.org/pub/epel/6/x86_64/epel-release-6-8.noarch.rpm
wget http://fedoraproject.org/static/0608B895.txt
mv 0608B895.txt /etc/pki/rpm-gpg/RPM-GPG-KEY-EPEL-6
rpm --import /etc/pki/rpm-gpg/RPM-GPG-KEY-EPEL-6
yum groupinstall 'Development tools'
yum install bzip2-devel curl-devel pcre-devel expat-devel libc-client-devel libxml2-devel libjpeg-devel libpng-devel freetype-devel libmcrypt-devel mhash-devel gd-devel openssl-devel zlib-devel GeoIP-devel
rpm -ivh http://rpms.litespeedtech.com/centos/litespeed-repo-1.1-1.el6.noarch.rpm
yum install openlitespeed
/usr/local/lsws/bin/lswsctrl start
yum clean all
Last edited:
")